
Email format error
Email cannot be empty
Email already exists
6-20 characters(letters plus numbers only)
The password is inconsistent
Email format error
Email cannot be empty
Email does not exist
6-20 characters(letters plus numbers only)
The password is inconsistent


Toyota Tacoma Lower Control Arm Bushing Replacement: A Comprehensive Guide
The lower control arm bushings in a Toyota Tacoma play a crucial role in maintaining stability and control while driving. Over time, these bushings can wear out, leading to increased vibrations, poor handling, and even safety concerns. In this blog post, we will provide a step-by-step guide on how to replace the Toyota Tacoma lower control arm bushings. So, let’s dive in!
Understanding Lower Control Arm Bushings
1. What are Lower Control Arm Bushings?
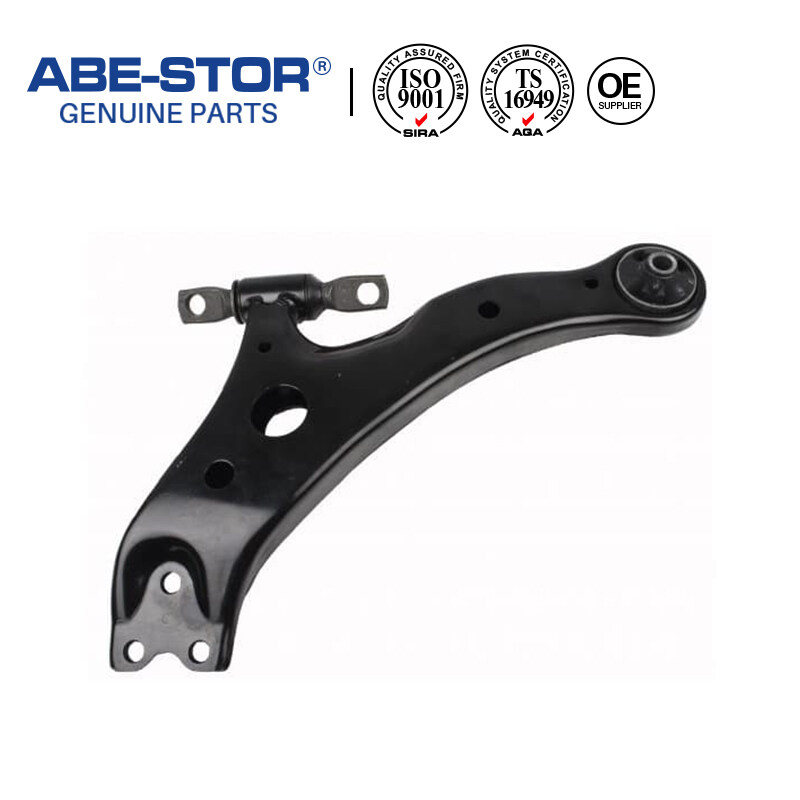
Lower control arm bushings are crucial components that connect the lower control arm to the vehicle’s frame. They are typically made of rubber or polyurethane and are designed to provide cushioning and flexibility while allowing the control arm to move up and down. These bushings act as a pivot point for the control arm, allowing it to articulate and absorb road shocks.
2. Importance of Lower Control Arm Bushings:
Lower control arm bushings play a vital role in maintaining proper suspension geometry and ensuring smooth handling. They help to distribute the forces and vibrations generated by the wheels and road surface, preventing them from being transmitted directly to the vehicle’s frame. By absorbing these shocks, the bushings contribute to a more comfortable ride for the occupants.
Additionally, lower control arm bushings help to maintain the alignment of the wheels, ensuring that they remain perpendicular to the road surface. This alignment is crucial for optimal tire wear and handling characteristics. Without properly functioning bushings, the control arm may move excessively, leading to misalignment and uneven tire wear.
Furthermore, lower control arm bushings prevent metal-to-metal contact between the control arm and the frame. This reduces friction and wear, prolonging the lifespan of both components. By providing a cushioning effect, the bushings also help to reduce noise, vibration, and harshness (NVH) levels in the vehicle.
3. Types of Lower Control Arm Bushings:
There are two main types of lower control arm bushings: rubber and polyurethane.
Rubber bushings are the most common type and are often used as original equipment in vehicles. They offer a comfortable ride due to their ability to absorb vibrations and road shocks effectively. However, rubber bushings tend to wear out faster than polyurethane bushings, especially in harsh driving conditions or off-road environments.
Polyurethane bushings, on the other hand, are known for their durability and improved handling characteristics. They provide better control and responsiveness, making them popular among performance enthusiasts. However, polyurethane bushings may transmit more vibrations and road noise compared to rubber bushings.
When choosing between rubber and polyurethane bushings, it is essential to consider your driving preferences and the specific requirements of your vehicle. If comfort is a priority, rubber bushings may be the better choice. However, if you prioritize performance and durability, polyurethane bushings may be more suitable.
Signs of Worn Lower Control Arm Bushings
1. Increased Vibrations: Worn bushings can cause excessive vibrations, especially during acceleration or when driving over rough surfaces.
2. Poor Handling and Steering Response: As the bushings deteriorate, the control arm’s movement becomes less controlled, resulting in poor handling and reduced steering response.
3. Uneven Tire Wear: Worn bushings can lead to misalignment, causing uneven tire wear. If you notice uneven tread wear patterns, it may be a sign of worn lower control arm bushings.
4. Clunking or Squeaking Noises: Worn bushings can create clunking or squeaking noises, especially when going over bumps or making turns.
Tools and Materials Required:
1. List of Tools:
Jack and jack stands
Lug wrench
Socket set
Wrench set
Pry bar
Bushing press tool
Torque wrench
Rubber mallet
Grease gun
2. List of Materials:
Replacement lower control arm bushings
Anti-seize lubricant
Grease
Step-by-Step Toyota Tacoma Lower Control Arm Bushing Replacement Guide:
1. Preparing the Vehicle:
1). Safety Precautions: Ensure the vehicle is parked on a level surface and engage the parking brake. Wear safety goggles and gloves for protection.
2). Lifting the Vehicle: Use a jack to lift the front of the vehicle and secure it with jack stands. Remove the front wheels for better access.
2. Removing the Lower Control Arm:
1). Detaching Suspension Components: Disconnect the sway bar link, shock absorber, and any other suspension components attached to the lower control arm.
2). Removing the Lower Control Arm: Unbolt the lower control arm from the frame and carefully remove it from the vehicle.
3. Pressing Out the Old Bushings:
1). Bushing Removal Techniques: Depending on the design, you may need to use a bushing press tool or a combination of a pry bar and a hammer to remove the old bushings.
2). Using a Bushing Press Tool: If using a bushing press tool, follow the manufacturer’s instructions to press out the old bushings from the control arm.
4. Installing the New Bushings:
1). Preparing the New Bushings: Apply a thin layer of anti-seize lubricant to the inner and outer surfaces of the new bushings.
2). Pressing In the New Bushings: Using a bushing press tool, carefully press the new bushings into the control arm until they are fully seated.
5. Reassembling the Lower Control Arm:
1). Reattaching the Lower Control Arm: Align the control arm with the frame and secure it with the appropriate bolts and nuts. Torque them to the manufacturer’s specifications.
2). Reinstalling Suspension Components: Reattach the sway bar link, shock absorber, and any other suspension components that were detached earlier.
Tips and Tricks for a Successful Toyota Tacoma Lower Control Arm Bushing Replacement:
1. Lubricating the Bushings: Apply grease to the inner and outer surfaces of the bushings before installation to reduce friction and ensure smooth movement.
2. Proper Torque Specifications: Always use a torque wrench to tighten the bolts and nuts to the manufacturer’s recommended specifications. This ensures proper clamping force without damaging the components.
3. Alignment Check: After replacing the lower control arm bushings, it is recommended to have the vehicle’s alignment checked and adjusted if necessary.
Conclusion: In conclusion, replacing the lower control arm bushings in your Toyota Tacoma is a task that requires careful attention to detail and the right tools. By following this comprehensive guide, you can ensure a successful Toyota Tacoma lower control arm bushing replacement, restoring the stability and control of your vehicle. Remember to prioritize safety and consult a professional if you are unsure about any step. Enjoy a smoother and safer ride with your newly replaced lower control arm bushings!